01730 622544

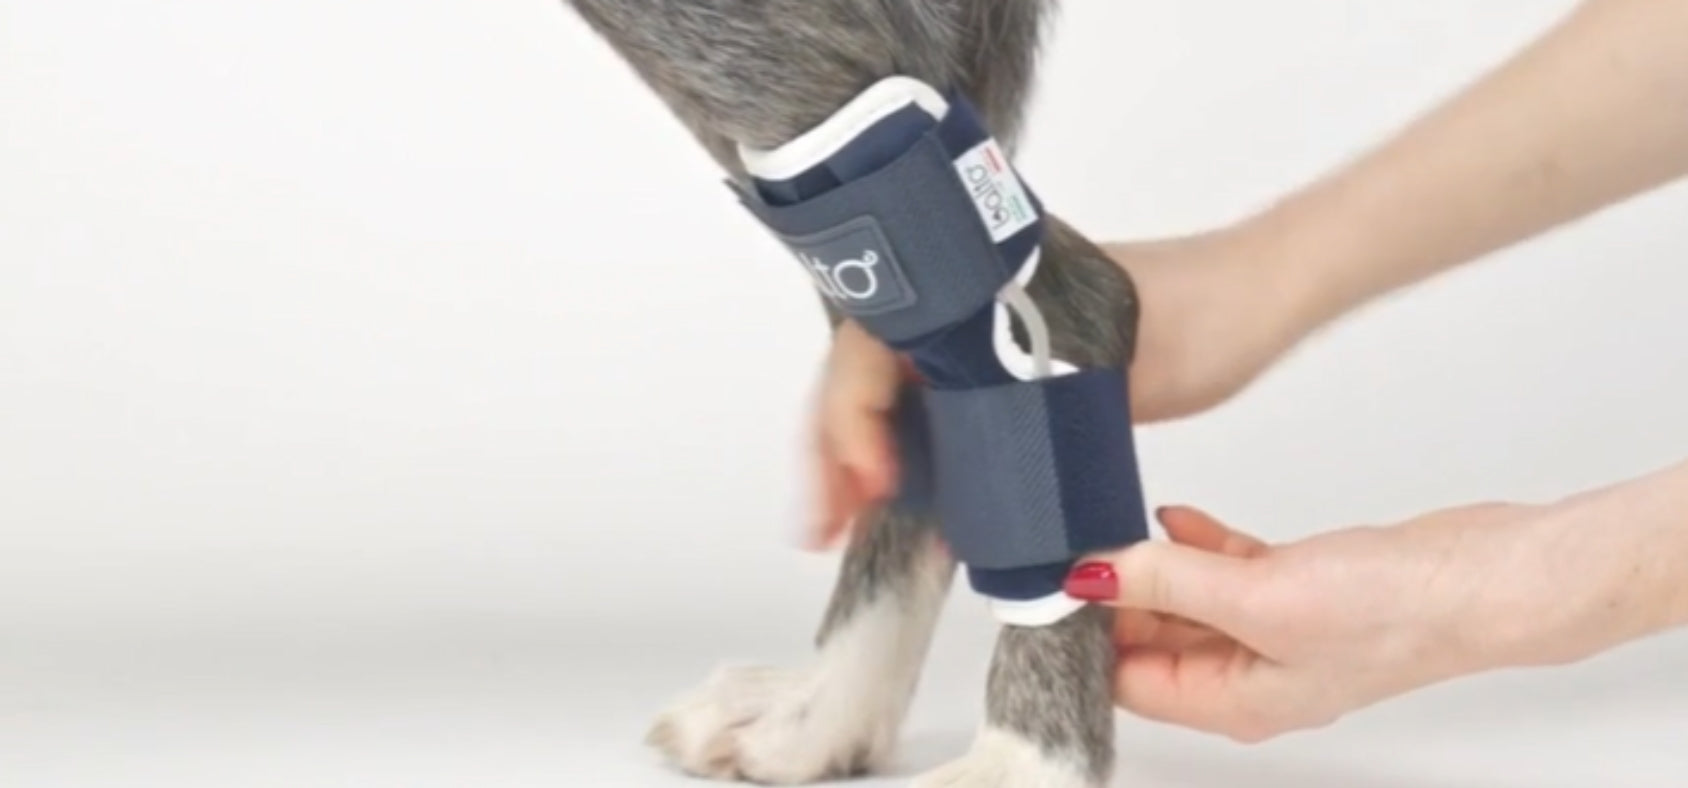
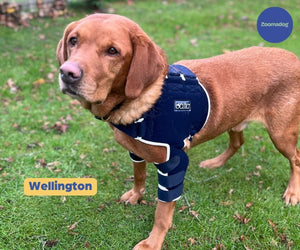
Hock Splint for Dogs
- Supports dogs hock or heel.
- Conditions that may benefit from the Walkin Hock Splint include:
- tarsal hyperextension
- tarsal joint instabilities or malformations
- soft tissue injuries to tarsal tendons/ligaments
- osteoarthritis of tarsal joint
- Degenerative Joint Disease of Tarsus (DJD)
- post-surgical protection.
- To get more of a custom fit add Walkin Custom-fit Foam for an additional £10.00

| Size | Total Length |
| XSmall | 5.75€³ / 14.6 cm |
| Small | 6.5€³ / 16.5 cm |
| Medium | 7.5€³ / 19.1 cm |
| Large | 9.25€³ / 23.5 cm |
| XLarge | 11.25€³ / 28.6 cm |
How to Introduce a Splint to Your Pet It’s important to remember that any splint or bootie placed on a pet’s foot will need to be removed at bedtime, and should be removed for at least an hour during the day to allow the foot to breathe. When introducing a new splint to a pet, it’s important to start slowly. Positive reinforcement methods, using praise, treats, or toys should always be used in association with the splint. The splint will initially make the pet walk funny or maybe not want to walk at all. Using positive reinforcement to encourage walking is always the best approach.
Day One: Place splint on pet for 10-15 minutes at a time, then remove. Try these short sessions 3 to 4 times during Day One. Once the splint is removed, look for any areas of irritation or rubbing on the pet’s skin that may have been caused by the splint. If you notice an area of rubbing, please consult one of our customer service representatives for fitting assistance, and your veterinarian with any medical concerns. Remember that every pet is different; it may take pets longer than a few days to get used to the splint, and that’s OK. It’s more important to make sure the pet is comfortable with the splint and the fit is correct than to rush the process. Continue with these short sessions until your dog adjusts. If you are concerned that the fit isn’t correct, please contact our customer service department or consult with your veterinarian.
Day Two: If your pet is having a hard time adjusting to wearing the splint, continue with the short 10-15 minute sessions, as described in Day One. If your pet seems to be walking a little better and is getting used to the splint, then it’s time to increase the session length a bit. Place splint on for 15-30 minutes at a time, then remove. Try these sessions 3 to 4 times during Day Two. Again, look for any signs of discomfort, and respond accordingly.
Day Three: If your pet is still having a hard time, continue with the short 10-15 minute sessions, as described in Day One. If the pet seems to be walking a little better than in Day Two and is getting used to the splint, then it’s time to increase session length again. Place splint on for 30-60 minutes at a time, then remove. Try these sessions 3 to 4 times during Day Three. Once again, look for any signs of discomfort, and respond accordingly. Ongoing: Once the pet is able to comfortably wear the splint for 4 hours or more in the day, and no areas of rubbing or irritation are present, it’s all right to increase wear time to almost a full day, if needed. If you are unsure how long the splint should be worn based on your dog’s medical condition, it’s always best to consult with your veterinarian.

Looking for help with your dog?
We can help find the right solution for your dog
Feel free to give us a call on 01730 622544
or email us at woof@zoomadog.co.uk


Leave a comment